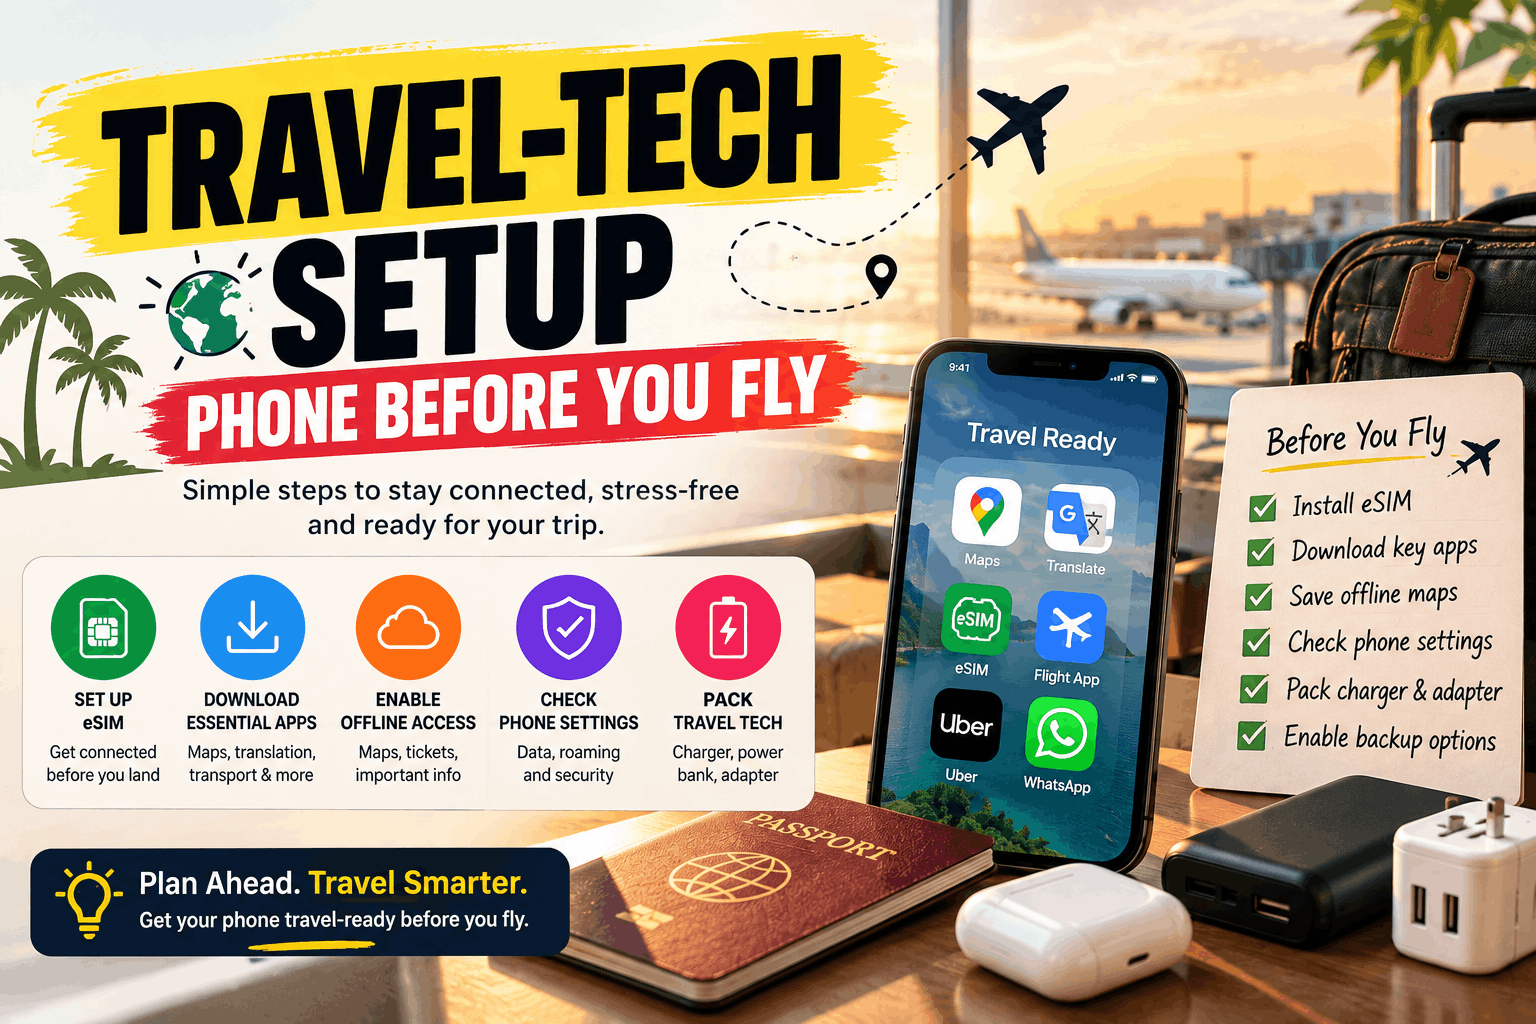
Travel Tech Setup: Everything to Do With Your Phone Before You Fly
Think packing your bag is the last step before a trip? Your phone setup before international travel might be the most important thing you haven’t done yet. Here’s the complete 2026 checklist — from connectivity to security — so you land ready for anything.
The modern traveler’s phone is a boarding pass, a map, a currency converter, a translator, a hotel key, a taxi dispatcher, and a lifeline home — all at once. And yet most people spend more time picking their carry-on than preparing the device that runs their entire trip.
A proper phone setup before international travel takes under an hour. Done right, it saves you from roaming bill shock, dead batteries at the worst moment, locked banking apps in a foreign country, and the particular misery of standing on a street corner in an unfamiliar city with no data and no offline map.
This guide walks through every step — connectivity, apps, security, battery, backups — in the order you should actually do them, with honest recommendations for Canadian travelers heading abroad in 2026.
Step 1: Sort Your Connectivity First — Everything Else Depends on It
The single most important part of your phone setup before international travel is deciding how you’ll get data when you land. Get this wrong and everything that depends on your phone — navigation, bookings, communication — is compromised from the moment you step off the plane.
Understand What Your Canadian Carrier Actually Charges
Before assuming your existing plan will “just work” abroad, check the actual numbers. Rogers, Bell, and Telus all charge CA$16–18 per day for international roaming — activated automatically the moment your phone connects to a foreign network, even if you only check one message.
hidden costs of roaming on Rogers, Bell, and Telus
For a 10-day trip, that’s CA$160–180 per device. For a family of four, nearly CA$700. For a couple on a 14-day Europe trip, over CA$500 — in phone bills alone.
Set Up a Travel eSIM Before You Fly
The smartest connectivity decision most Canadian travelers make is switching to a travel eSIM from SimClaire before their flight. An eSIM is a digital SIM card built into your phone — no physical swap, no losing your home number, no passport registration at an airport kiosk.
Here’s how to set up your SimClaire travel eSIM:
- Check your phone is eSIM compatible at [INTERNAL LINK → simclaire.com/esim-compatible-devices] — anchor text: “SimClaire’s eSIM compatibility guide”
- Browse and purchase the right plan at simclaire.com — your QR code arrives by email in minutes
- Scan the QR code at Settings → Mobile Data → Add eSIM while on home Wi-Fi
- The eSIM installs in under 5 minutes and won’t activate until you land
Do this at home — not at the airport. Installing your travel eSIM on home Wi-Fi means you land already connected, with no queue, no kiosk, and no day-rate billing clock running.
why a travel eSIM beats roaming for Canadian travelers
Turn Off Data Roaming on Your Home SIM
Once your SimClaire eSIM is installed, disable data roaming on your Rogers, Bell, or Telus SIM to prevent any accidental background charges:
- iPhone: Settings → Mobile Data → Mobile Data Options → Data Roaming → Off
- Android/Samsung: Settings → Connections → Mobile Networks → Data Roaming → Off
Your home SIM stays active for calls and texts. Your SimClaire eSIM handles data. Both run simultaneously on dual-SIM devices — your Canadian number stays reachable, and your data bill is under control.
Step 2: Check Your Phone’s Physical and Software Readiness
Connectivity sorted — now make sure the device itself is ready for the trip.
Update Your Operating System
Update your operating system to the latest versions to access the most stable network protocols. These versions include critical security patches and improved power management.
Do this at home on Wi-Fi, not at the gate. A major OS update can take 20–40 minutes and drain significant battery — neither of which you want to manage on travel day.
Check Battery Health
Check your battery health in your device settings. If your maximum capacity is below 80%, consider a replacement before you leave. A failing battery is a major liability when you rely on digital maps in a new city.
- iPhone: Settings → Battery → Battery Health & Charging
- Android: Settings → Battery → Battery Health (or use an app like AccuBattery)
Check Your Phone Is Carrier Unlocked
A carrier-locked phone refuses any SIM or eSIM that is not from your home carrier. Phones bought outright are usually unlocked; phones on installment plans often are not. Check in settings — iPhone: Settings → General → About → Carrier Lock should say “No SIM restrictions” — and if it is locked, request an unlock from your carrier. It can take a few days, so do this first.
This step is essential for eSIM setup. If your phone is locked to Rogers, Bell, or Telus, the SimClaire eSIM won’t install until the unlock is complete. Most carriers process unlock requests within 24–72 hours — do it early.
Clean Your Charging Port
Clean your charging port using compressed air or a non-metallic pick. Compressed pocket lint is the leading cause of charging failure during international transit.
This is the unglamorous fix that saves more trips than any app.
Step 3: Download the Apps That Actually Matter
Most “must-have travel app” lists recommend 30+ apps. In practice, you need about eight. Here are the ones that earn their storage space — and the specific settings to configure before you fly.
Navigation
Google Maps — Google Maps remains the single most essential travel navigation tool. Download offline maps for every city on your itinerary while on home Wi-Fi. Offline maps remain accessible for up to 30 days and support turn-by-turn navigation without any data connection.
how to download offline Google Maps areas before you travel
MAPS.ME — A strong backup navigation app using OpenStreetMap data, with offline maps, searchable points of interest, and turn-by-turn routing. Particularly useful in rural areas where Google Maps coverage is thinner.
Translation
Google Translate — Google Translate remains the definitive baseline for travel translation in 2026. It supports 249 languages with live audio translation in at least 70 of them.Download the offline language packs for your destination before you fly — camera translation (point your phone at a menu or sign) also works offline once the pack is installed.
Download Google Translate language packs before your trip
Money
Wise (formerly TransferWise) — Wise offers the real mid-market exchange rate with minimal transparent fees across 50+ currencies. Traditional bank cards typically charge 3–5% on foreign transactions; Wise typically charges 0.5–1.5%.Set up your Wise account and card before you fly — delivery takes a few days.
XE Currency — Offline exchange rate converter. Download it and update the rates on home Wi-Fi before you fly so you have current rates without data.
Communication
WhatsApp — The global standard for international messaging and calls over data. Every tour operator, villa host, and local contact you’ll interact with abroad uses WhatsApp. Make sure it’s updated and your backup codes are saved.
If you’re using a SimClaire travel eSIM, WhatsApp runs over your eSIM data connection exactly as it does at home — no configuration needed.
Itinerary Management
TripIt — TripIt stores all your travel reservations and booking confirmations offline, making them accessible anytime.Forward your confirmation emails to plans@tripit.com and it builds a master itinerary automatically, accessible without data.
Safety
Find My (iPhone) / Find My Device (Android) — Enable this before you fly and verify your device appears correctly in your account. Activate device location and verify on the provider’s website that the device appears correctly associated with the account. Enable remote lock and wipe functions, allowing you to protect your data if the device is lost.
How to enable Find My on iPhone before traveling
Step 4: Secure Your Phone for International Use
Security settings that don’t matter at home become critical when you’re on unfamiliar networks in unfamiliar cities.
Enable a Strong Lock Screen
Set a 6-digit PIN or alphanumeric passcode — not just Face ID or fingerprint, which can be compelled in some jurisdictions. Make sure your lock screen auto-locks after 30 seconds or less.
Audit Your Two-Factor Authentication
This is the step most travelers skip until it bites them.
If your banking, email, or work accounts use SMS-based two-factor authentication (a code texted to your phone number), those codes go to your Canadian number — which stays active on your home SIM even while you’re abroad. On a dual-SIM setup with a SimClaire eSIM, this works seamlessly because your home SIM remains active for texts and calls.
If you’ve physically swapped out your home SIM for a local one, those 2FA codes are unreachable. This is one of the most overlooked reasons to use an eSIM rather than a physical SIM swap abroad.
how a travel eSIM keeps your two-factor authentication working abroad
Back Up Everything Before You Fly
- iPhone: Settings → Apple ID → iCloud → iCloud Backup → Back Up Now
- Android: Settings → Google → Backup → Back Up Now
Do this on home Wi-Fi the night before your flight. If your phone is lost, damaged, or stolen abroad, a recent backup means a replacement device can be fully restored.
Save Emergency Contacts Offline
Screenshot or write down: your travel insurance policy number and emergency line, your bank’s international fraud number, your hotel’s address and phone number, and your emergency contact at home. If your phone dies or is stolen, these should be accessible without it.
Step 5: Download Your Documents and Boarding Passes
In 2026, the mobile phone has become the traveler’s main tool: it contains airline tickets, hotel confirmations, boarding passes, vaccination certificates, payment methods, loyalty cards, and confidential personal data.
Before your phone setup before international travel is complete, make sure everything you’ll need in the first 24 hours of your trip is accessible offline:
- Boarding passes → Download to Apple Wallet or Google Wallet while on home Wi-Fi. Screenshot as a backup.
- Hotel confirmation → Save the address, check-in time, and confirmation number in TripIt or your Notes app
- Travel insurance details → Screenshot your policy number and emergency contact line
- Destination entry requirements → Check ETIAS (for Europe), ETA (for UK), or any visa requirements and screenshot your approval
Check the Government of Canada’s travel advisories for your destination before you fly
Step 6: Configure Battery and Data Management
Turn Off Background App Refresh
Background App Refresh lets apps update content while you’re not using them — which is fine at home and potentially expensive abroad if your home SIM’s roaming is still active.
- iPhone: Settings → General → Background App Refresh → Off (or select specific apps)
- Android: Settings → Network & Internet → Data Usage → Background Data → Restrict
Disable Automatic App and OS Updates
Set your phone to update on Wi-Fi only. Abroad, an unexpected system update over mobile data can consume gigabytes in minutes.
- iPhone: Settings → App Store → Automatic Downloads → toggle off App Updates
- Android: Play Store → Settings → Network Preferences → Auto-update apps → Over Wi-Fi only
Turn Off Wi-Fi Assist / Adaptive Wi-Fi
Wi-Fi Assist automatically switches you to roaming data if the local Wi-Fi signal is weak. Abroad, this means your phone might jump onto a roaming network without warning.
- iPhone: Settings → Mobile Data → scroll to bottom → Wi-Fi Assist → Off
- Android: Settings → Connections → Wi-Fi → Advanced → Switch to Mobile Data → Off
If you’re using a SimClaire travel eSIM as your data line, this is less of a concern — but it’s still worth disabling to prevent your home SIM from connecting to roaming networks unexpectedly.
Pack a Power Bank
The most underrated piece of travel tech. A 10,000mAh power bank gives your phone 2–3 full charges — enough for a long travel day without access to a plug. Check airline carry-on rules for battery capacity before you pack.
The Complete Pre-Flight Phone Checklist
Use this as your go-to checklist in the 48 hours before every international departure:
48 Hours Before
- Check your phone is eSIM compatible
- Confirm your phone is carrier unlocked
- Purchase your SimClaire travel eSIM plan
- Install eSIM via QR code on home Wi-Fi
- Update operating system and all apps
- Check battery health (replace if under 80%)
- Back up phone to iCloud or Google
24 Hours Before
- Turn off Data Roaming on home SIM
- Turn off Background App Refresh
- Turn off Automatic App Updates (Wi-Fi only)
- Turn off Wi-Fi Assist / Adaptive Wi-Fi
- Download offline Google Maps for every destination
- Download Google Translate language packs for your destination
- Download boarding passes to Wallet
- Save hotel address, confirmation, and local emergency numbers offline
- Update XE Currency exchange rates on home Wi-Fi
- Enable Find My / Find My Device
At the Gate
- Switch to airplane mode for the flight
- Confirm SimClaire eSIM is showing in your SIM settings
- Power bank charged and in carry-on
When You Land
- Turn off airplane mode
- Confirm SimClaire eSIM connects automatically ✅
- Verify Data Roaming is still off on home SIM
- You’re connected. Walk to baggage claim. Trip starts now.
How SimClaire Fits Into Your Pre-Flight Setup
Every step of this guide leads back to one decision that determines how smoothly everything else works: how you’ll get data when you land.
If you land without a data plan, your offline maps are a safety net, not a strategy. If you land on Rogers or Bell roaming at CA$16–18/day, your trip is CA$160+ more expensive than it needs to be. If you land with a SimClaire travel eSIM already installed, you walk off the plane connected — maps loading, WhatsApp live, booking confirmations accessible — before you reach baggage claim.
SimClaire covers 150+ destinations worldwide, with plans ranging from single-destination trips to multi-country regional packages. Your QR code arrives by email, installs in minutes on home Wi-Fi, and connects automatically when you land. Your Canadian number stays active for calls and 2FA texts. No queue. No kiosk. No bill shock.
See why Canadian travelers are switching to SimClaire before their trips
Check if your phone supports eSIM before you buy
Building your bridge to the world — before you even pack your bag. 🧡
Sort your travel tech before your next flight. Browse SimClaire’s eSIM plans at simclaire.com or reach us on WhatsApp at +1 437-605-6560.
The most important steps are: sort your data connectivity (a travel eSIM from SimClaire before you fly), disable Data Roaming on your home SIM, download offline Google Maps for your destination, update your OS, back up your phone, and save your boarding passes and key documents offline.
For Canadian travelers, a travel eSIM is almost always the better choice. Rogers, Bell, and Telus charge CA$16–18 per day for international roaming. A SimClaire travel eSIM for the same trip costs a fraction of that, with no automatic daily billing and no home number disruption on dual-SIM devices.
The essentials: Google Maps (with offline maps downloaded), Google Translate (with offline language packs), XE Currency (with offline rates updated), TripIt (with your itinerary synced), and WhatsApp. Download and configure all of these on home Wi-Fi before you fly.
Use a dual-SIM setup: a SimClaire eSIM for data, and your home Rogers/Bell/Telus SIM active for incoming calls and texts. Your 2FA codes go to your Canadian number, which stays reachable as long as your home SIM is in the phone.
Visit simclaire.com, choose your destination plan, and your QR code arrives by email. Scan it through Settings → Mobile Data → Add eSIM while on home Wi-Fi. Takes under 5 minutes. The eSIM is installed and waiting — it activates automatically when you land.
48 hours before departure is the sweet spot. That gives time for OS updates (which can be slow), carrier unlock requests (which take 24–72 hours), eSIM installation, offline map downloads, and a full phone backup — without the last-minute rush that causes steps to get skipped.