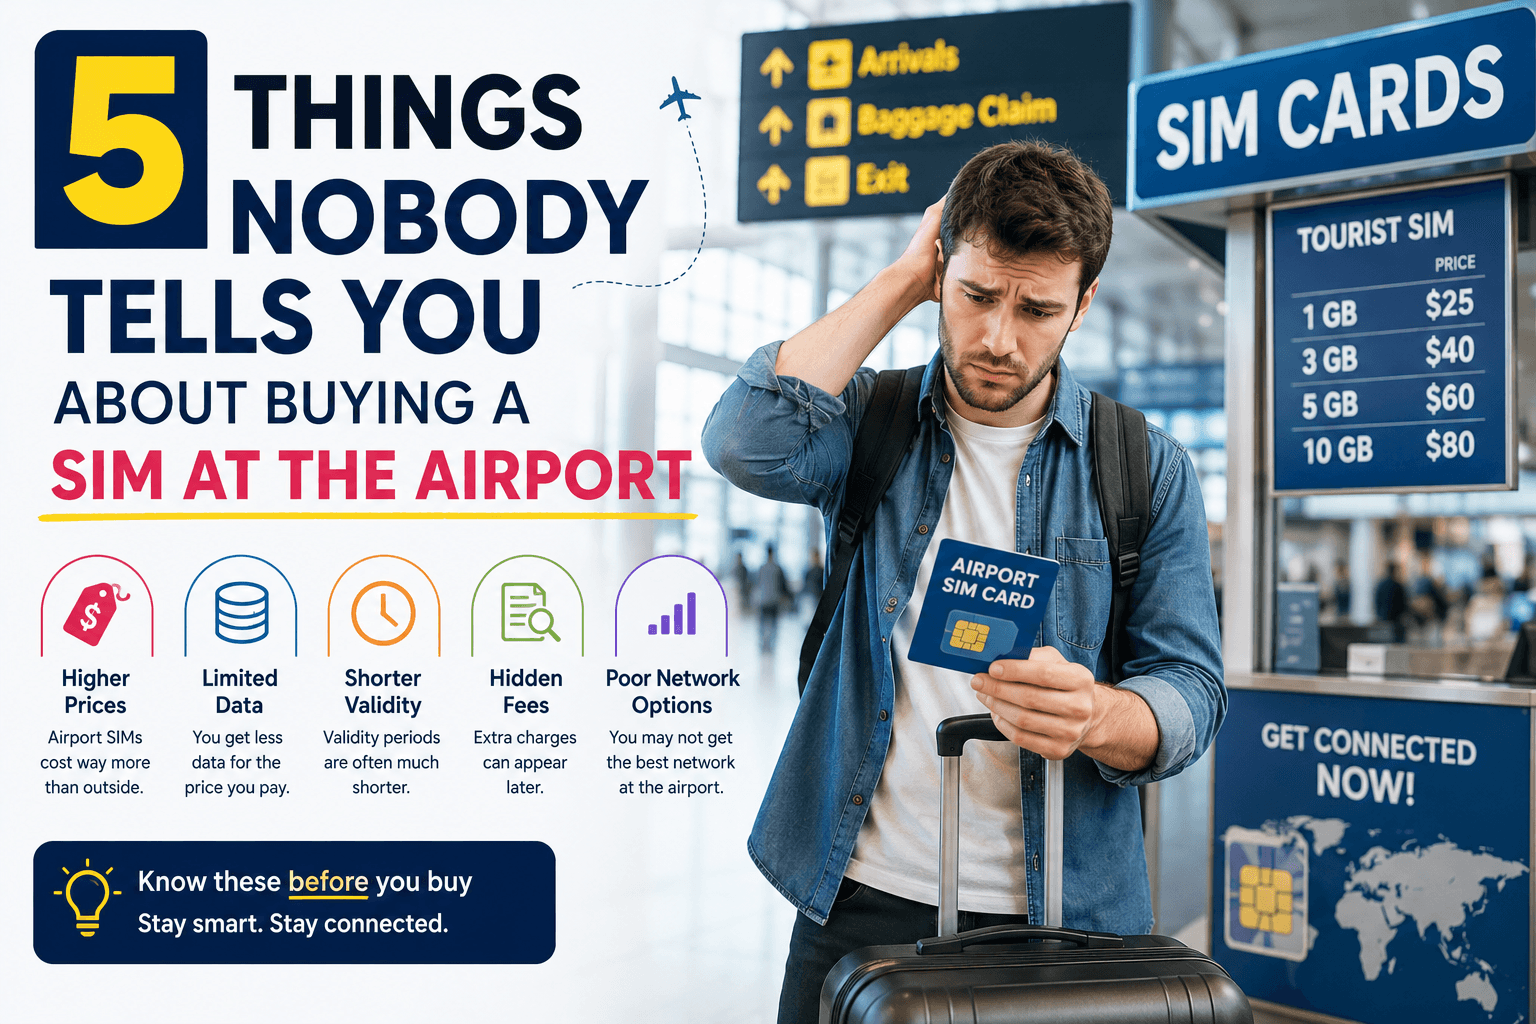
5 Things Nobody Tells You About Buying a SIM at the Airport
You just landed after a long flight. Your phone is on airplane mode, you need directions, and there’s a shiny kiosk in the arrivals hall selling SIM cards. Seems like the obvious move. Here’s what 5 things nobody is telling you.
There’s a reason airport SIM kiosks exist — and it has nothing to do with looking out for you. They exist because tired, disoriented travelers make easy customers. You’ve just landed in an unfamiliar country, you need data immediately, and there’s a convenient counter right there between baggage claim and the exit. Captive audience. Premium prices.
Most travel guides will tell you to “just grab a SIM at the airport.” Almost none of them explain what that actually costs you — in money, time, and frustration. Here are five things you’ll find out only after you’ve already paid.
Thing #1: You’re Paying 30–100% More Than the Exact Same Plan Costs Anywhere Else
This is the one that stings the most. Airport SIM kiosks operate in some of the highest-rent retail space in any country. Terminal real estate costs more than a downtown storefront — and that cost is passed directly to you through inflated prices on every plan they sell.
The markup is well-documented across destinations. In the USA, a plan that costs $40 at the airport kiosk is often available for $25 at any Walmart, Target, or carrier store in the city. In Turkey, the same Turkcell 20GB tourist SIM sold for ~$30 USD at a city store runs $50–70 USD at Istanbul Airport. In Japan, Thailand, the UK — the pattern repeats everywhere. Airport kiosk pricing is a convenience tax, and the fee is steep.
What makes this worse is that staff at many airport kiosks earn commission on upsells. The plan being recommended to you isn’t necessarily the best fit for your trip length. It’s often the highest-margin option that still sounds reasonable to an exhausted traveler who just wants to get moving.
The fix: Know before you go. Compare plans online before your flight, not at the kiosk counter while the queue builds behind you.
Thing #2: Some Countries Require Your Passport — And That Adds 20–45 Minutes to the Process
This one catches first-time international travelers completely off guard. In several countries, buying a local SIM as a tourist isn’t just a cash transaction — it’s a registration process that involves showing your passport, having your details entered into a carrier database, and sometimes even biometric verification.
Saudi Arabia requires fingerprint and passport registration for all mobile subscriptions. India requires passport registration for tourist SIMs. Several Southeast Asian countries have similar rules. Even in countries with lighter requirements, the paperwork still has to happen at the counter, with staff manually entering your details — which explains why the “quick SIM stop” at the airport so reliably turns into a 30–45 minute queue.
Arrive on a busy international flight, join the arrivals hall queue, and you might spend the first hour of your trip in line at a kiosk before you’ve even sent your “landed safely” message home.
The fix: An eSIM purchased online requires zero in-person registration. Your QR code arrives by email, installs on your phone in minutes, and is ready to connect the moment you land — no counter, no queue, no passport required.
Thing #3: That Plan Might Not Actually Work on Your Locked Phone
Here’s the scenario nobody warns you about: you pay for the SIM, you pop it in, you restart your phone — and nothing happens. No signal. No data. Just a confused phone and a receipt you can’t do much with.
Physical SIM cards only work if your device is carrier-unlocked. Many phones purchased on contract — especially in Canada, the US, and the UK — are locked to the home carrier until that lock is removed. The airport kiosk staff may or may not check this before selling you a SIM. Some will. Many won’t.
The process to unlock your phone typically involves contacting your home carrier, waiting for confirmation, and sometimes a fee — none of which you can easily do while standing in arrivals with a useless SIM and a dead data connection.
The fix: Check whether your phone is unlocked before you travel. The easiest way: try a different carrier’s SIM and see if it works. If you’re not sure, an eSIM from a compatible provider can sidestep the issue entirely on most modern eSIM-capable devices.
Thing #4: It’s Usually a Single-Country Plan — Which Means You’ll Need Another One at the Next Border
Most airport SIM cards are designed to keep you connected in that country. They’re sold by local carriers or local resellers, and the plan you bought in Paris is not the plan that will serve you in Amsterdam three days later.
For a traveler on a single-destination trip, this is fine. But for anyone doing a euro trip, a multi-stop Asia itinerary, or any journey that crosses borders in under two weeks, the airport SIM math becomes painful quickly. One SIM per country means one new queue, one new registration process, one new plan to configure, and one more physical SIM card to manage (and lose) at every stop.
The deeper issue is that even if you buy a SIM labeled “Europe” at an airport kiosk, the coverage details matter enormously. Some multi-country plans quietly exclude Switzerland, the UK, or the Balkans. Some throttle to unusable speeds the moment you cross into a country that isn’t the primary network. The kiosk staff aren’t always positioned to walk you through the fine print.
The fix: A regional eSIM plan covers multiple countries under a single install. One QR code, one plan, automatic network switching as you cross borders. No new kiosk at every airport.
Thing #5: You Lose Your Home Number the Moment You Insert It
This one matters more than most people realize until it bites them mid-trip.
When you physically replace your SIM with a local airport SIM, your home phone number goes offline. Not paused — offline. Anyone who tries to call or text your regular number while that SIM is swapped out simply can’t reach you. Your bank’s two-factor authentication text? Goes to a number that isn’t active. A WhatsApp call from family back home? Same problem. Any app that uses SMS verification — banking, travel bookings, ride-hailing — suddenly becomes a friction point every time it asks you to confirm via your “regular” number.
This catches travelers completely off guard, especially during longer trips where staying reachable on your primary number actually matters. The workaround — forwarding calls, notifying everyone of a new temporary number, keeping your home SIM somewhere safe — creates exactly the kind of logistical headache that travel is supposed to avoid.
The fix: An eSIM runs alongside your existing SIM on dual-SIM devices. Your home number stays active for calls and texts. Your eSIM handles data. Both work at the same time, on the same phone, with no swapping required.
The Bottom Line
Airport SIM kiosks are designed for travelers who didn’t plan ahead — and they’re priced accordingly. The markup is real, the queue is real, the registration friction is real, and the single-country limitation is very real if your itinerary crosses more than one border.
The better move is a travel eSIM purchased before you fly. Not because it’s the newest technology, but because it removes every one of the five friction points above: no markup, no queue, no lock issues, no border swap, no losing your home number.
SimClaire’s eSIM plans cover 150+ destinations worldwide, with Europe plans stretching across 34 countries — including Switzerland and the UK, which plenty of competitors quietly leave off the list. Your QR code arrives by email, installs on home Wi-Fi in minutes, and connects automatically when you land. No kiosk. No queue. No receipt you can’t use.
Building your bridge to the world — before you even get to the airport. 🧡
Skip the kiosk line on your next trip. Browse SimClaire’s plans at simclaire.com or reach us on WhatsApp at +1 437-605-6560.
Quick Reference: Airport SIM vs. SimClaire eSIM
| Airport SIM | SimClaire eSIM | |
|---|---|---|
| Price vs. market | 30–100% markup | Transparent online pricing |
| Setup time | 20–45 min queue | 5 min, before you fly |
| Passport registration | Often required | Not required |
| Works on locked phones | Sometimes not | Check eSIM compatibility |
| Multi-country coverage | Usually single-country | 34 countries (Europe) |
| Keeps home number active | No | Yes (dual SIM) |
| Support | Kiosk hours only | WhatsApp, anytime |
Airport SIM kiosks operate in high-rent terminal space and serve a captive audience of tired travelers. That means markups of 30–100% over the same plan sold online or in a city store. Staff also earn commission on upsells, so you are often pushed toward a larger plan than you actually need.
In many countries, yes. Saudi Arabia, India, and several Southeast Asian destinations require passport registration and sometimes biometric verification before activating a tourist SIM. This adds 20–45 minutes to your arrival. A travel eSIM purchased online before you fly requires no in-person registration.
“Not always. Physical SIM cards only work on carrier-unlocked phones. If your device was purchased on a contract in Canada, the US, or the UK, it may still be locked to your home carrier. Always confirm your phone is unlocked before traveling, or use a compatible travel eSIM instead.
Most airport SIM cards are single-country plans sold by local carriers. If your trip crosses more than one border, you will need a new SIM at each stop. A regional travel eSIM covers multiple countries under one plan and switches networks automatically as you cross borders.
Yes. Inserting a local SIM physically replaces your home SIM, taking your regular number offline. Calls, texts, and SMS two-factor authentication sent to your home number will not reach you. A travel eSIM runs alongside your existing SIM on dual-SIM devices, keeping your home number active while the eSIM handles data.
A travel eSIM purchased online before you fly. You compare plans from home, pay transparent pricing with no markup, install via QR code on home Wi-Fi, and connect the moment you land — no queue, no passport, no lost home number. SimClaire offers eSIM plans covering 150+ destinations including 34 European countries.
A step-by-step guide to setting up a travel eSIM before you fly so you land connected, skip the airport kiosk queue, and avoid hidden markups.
- Check your phone is eSIM compatible
Go to Settings on your phone and look for a Mobile Data or SIM option. Most iPhones from XS onward, Google Pixel 3+, and Samsung Galaxy S20+ support eSIM. If unsure, search your phone model plus ‘eSIM compatible’ to confirm.
- Confirm your phone is carrier unlocked
A locked phone will not accept an eSIM from another carrier. Contact your home carrier or check Settings > General > About (on iPhone) to see if an eSIM unlock option appears. Most phones purchased outright or off contract are already unlocked.
- Choose your eSIM plan before you fly
“Visit simclaire.com and select your destination. Compare fixed-data and unlimited plan options based on your trip length. For multi-country trips, choose a regional plan that covers all your destinations under one purchase.
- Install your eSIM on home Wi-Fi
After purchase, your QR code arrives by email within minutes. Scan it through your phone’s Settings > Mobile Data > Add eSIM while connected to home Wi-Fi. The eSIM installs in under 5 minutes and will not activate until you land.
- Set your eSIM as the active data line at your destination
Once you land, go to Settings > Mobile Data and select your SimClaire eSIM as the primary data line. Enable Data Roaming for that profile. Your home SIM stays active for calls and texts simultaneously on dual-SIM devices.
- Download offline maps before you leave home
Open Google Maps and download offline maps for each city on your itinerary while on home Wi-Fi. GPS navigation works without mobile data once maps are cached, saving your eSIM data for bookings, messaging, and real-time needs.